Getting Your Brake Pad Curing Walls Right
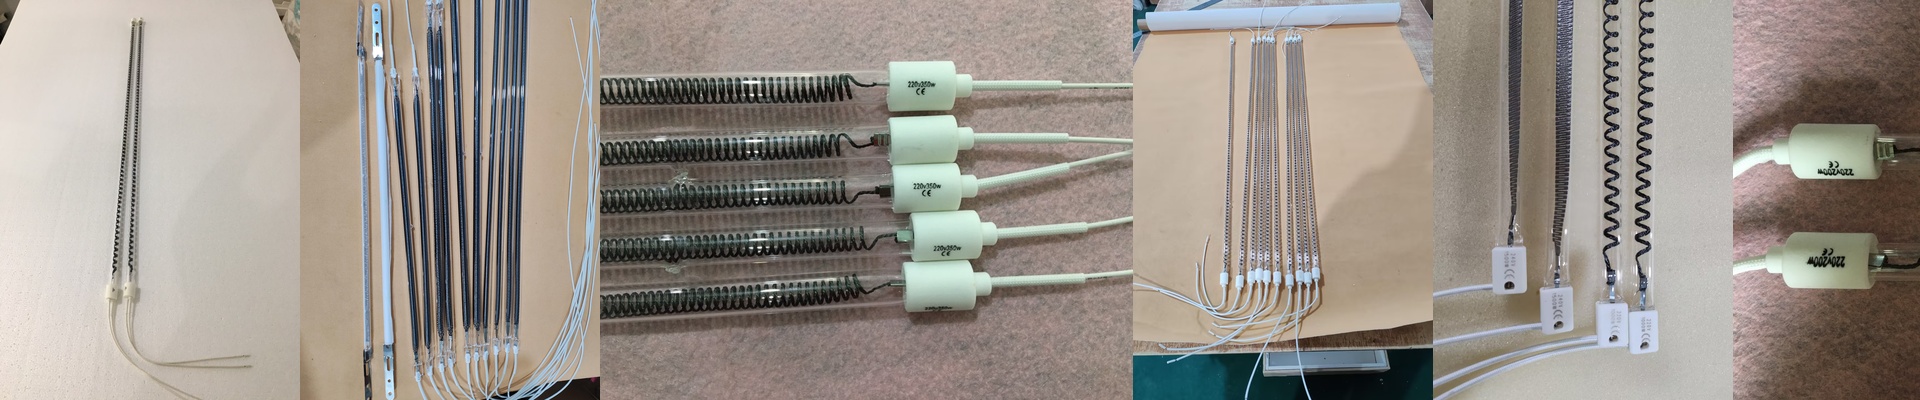
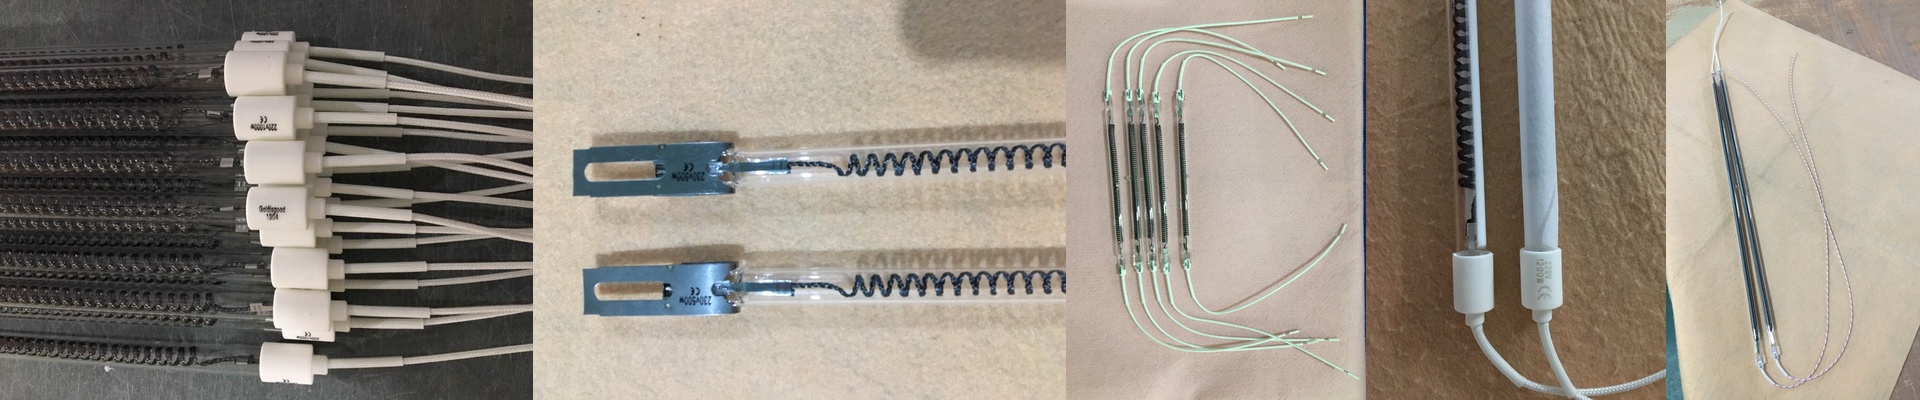
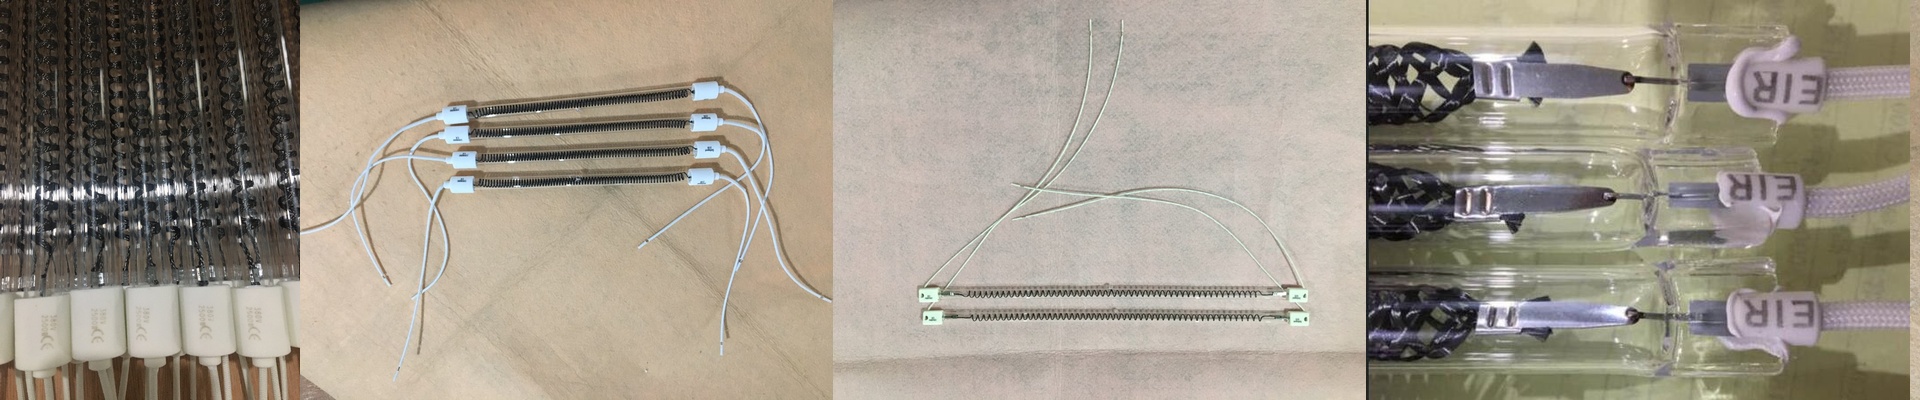
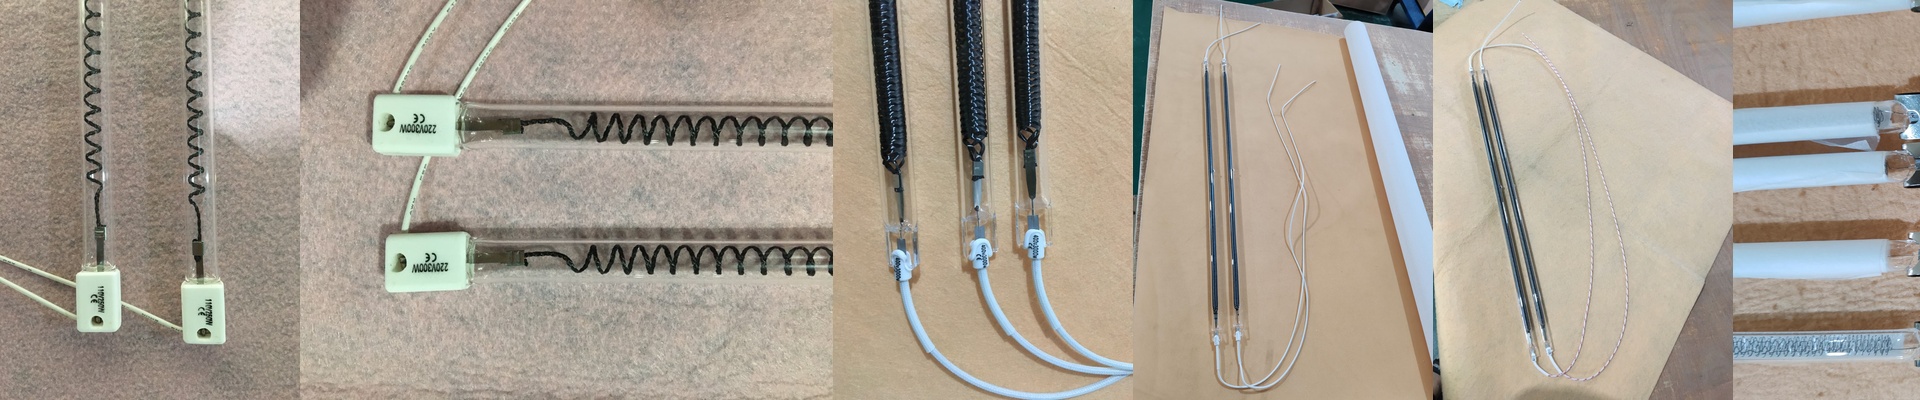
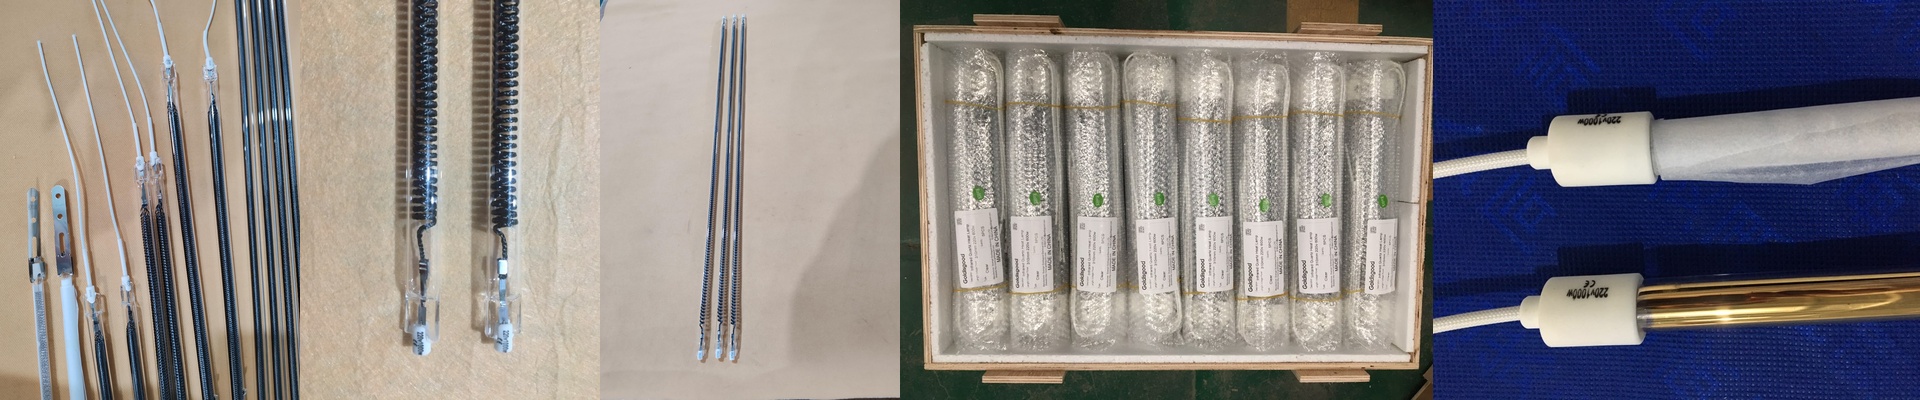
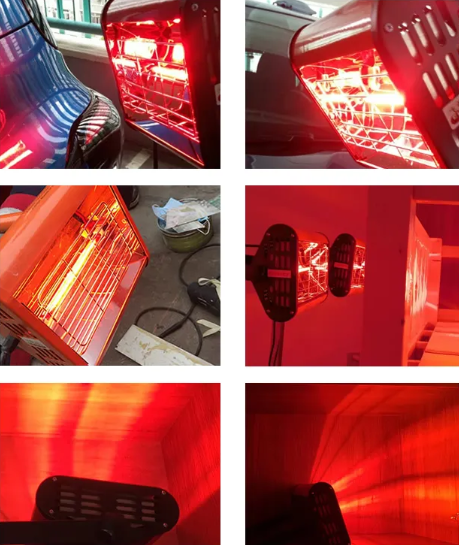
When you’re curing brake pad coatings, heat isn’t just a requirement—it has to be exact. If your heating wall isn’t built for the actual size of the parts you’re pushing through, you’re going to run into cold spots. And cold spots mean the coating doesn’t set properly, which usually means the part is scrap. It’s a headache you don’t need. Here is how we actually handle the vertical layout of the lamps to stop that from happening. We don’t just guess where the lamps go. We look at the “footprint” of the part. If you’re running larger pads or switching between different vehicle models, the spacing between the infrared tubes has to change. If the lamps are too far apart, you get “striping”—those annoying lines where the coating just didn’t cure. But if you cram them too close together? You’ll burn the coating right off. It’s a balancing act between the wattage and the distance to the part to hit that sweet spot. For the gear, we stick with shortwave infrared lamps. They’re great because they punch through the coating fast. Just make sure your control system can handle the rapid cycling without flinching. One thing people forget: high-wattage tubes put a lot of stress on the housing. We use reinforced brackets because, let’s face it, metal warps when it gets that hot. You want a wall that stays straight, not one that bends over time. Now, there’s a trade-off here. Adding more lamps makes the cure happen faster, which sounds great. But more lamps mean more heat soaking into the oven walls. If you don’t have the ventilation and cooling dialed in to handle that extra ambient heat, you’re just going to trip your thermal limiters and shut the whole line down. The real win is setting up your vertical layout so it’s flexible. When you can just adjust the lamp zones instead of rebuilding the entire wall every time a part size changes, everything stays moving. Less waste, less downtime, and way less stress.